Unity IAP iOS tvOS tutorial
Introduction
This is the second tutorial on Unity IAP. In the previous one, we talked about Android. Today, we are going to talk about iOS and tvOS. I am not going to repeat the topics that apply to both Android and iOS. You can refer to the first tutorial for things like creating a unity project, enabling analytics, importing the IAP plugin, using the demo app, modifying player settings. In this tutorial, I am going to focus on creating iOS provisioning profiles, using iTunes connect to upload a test app, defining IAP products, creating sandbox test accounts, debugging tvOS SSL using Charles proxy.
Prerequisites
Make sure you have the following applications installed. I am using a Mac, for Windows users, I am sorry, I can not help much.
- Xcode. You can get it from here.
- Charles Web Proxy. You can get it from here.
- Apple Configurator. You can get it fro here.
- Unity. You can get it from here.
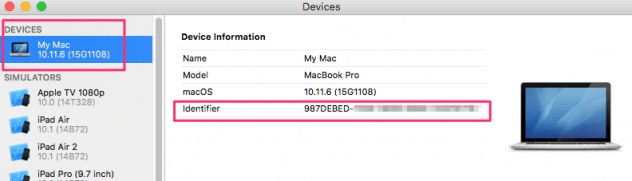
Device Unique ID
- Connect your iPhone or Apple TV to your Mac computer.
- Launch Xcode.
- From the Window menu go to devices.
- Select your device on the left side.
- You should be able to see the UDID number on the right side.
- Copy this UDID because you will need it later.
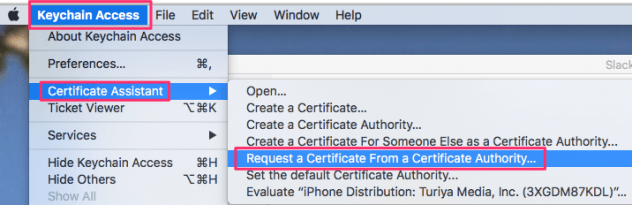
Creating a CSR file
- Launch the Keychain Access application.
- Go to Keychain Access menu.
- Go to Certificate Assistant.
- Click Request a Certificate From a Certificate Authority.
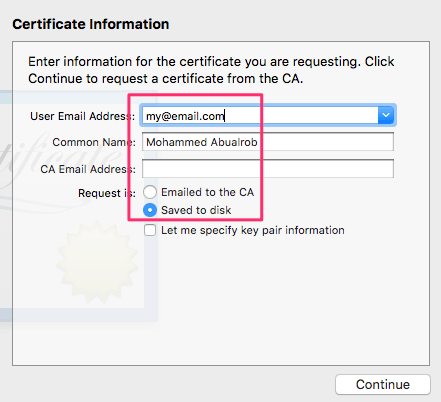
- Fill in your email address, your name.
- Check saved to disk.
- Leave CA email address empty.
- Click continue and save the CSR file to disk because you will need it later.
Certificates, IDs and Profiles
- Go to developer.apple.com
- Click on Account.

- Login with your user name and password.
- Click on certificates, identifiers and profiles.
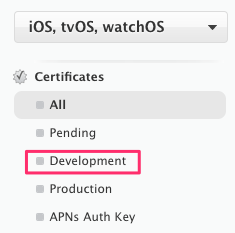
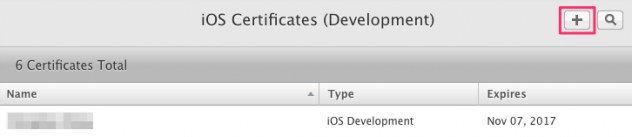
- Under certificates, click on development then click the plus icon.
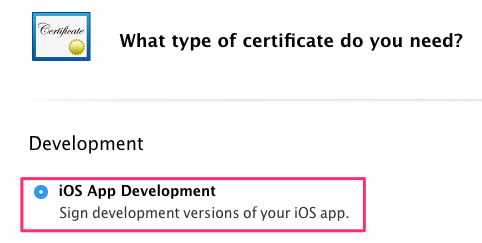
- Select iOS app development then click on continue at the bottom of the page.
- Click continue again.
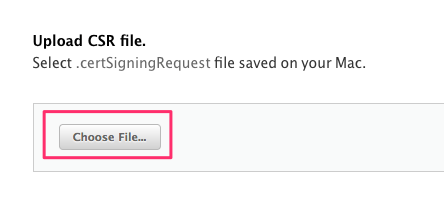
- Chose the CSR file that you just created and finish the remaining steps.
- From the identifiers menu on the left, click on App IDs.
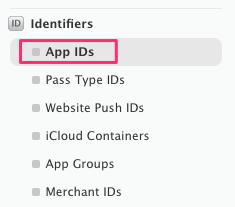
- Click on the plus icon to add a new App ID.

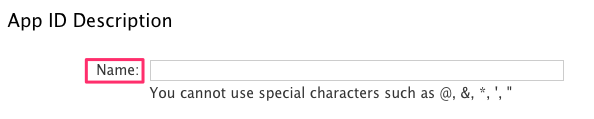
- Give your app a meaningful name. For example AmorCam.
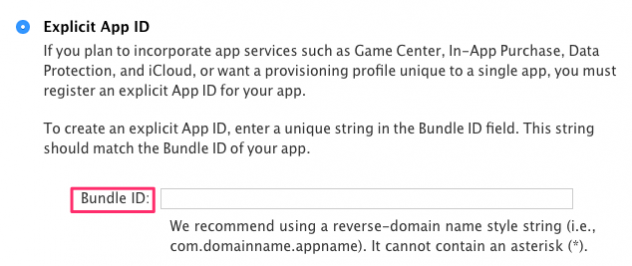
- Provide a bundle ID. For example com.8bitavenue.amorcam then finish all the steps afterwards.
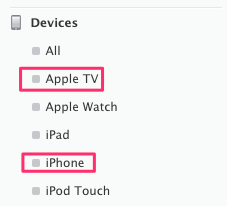
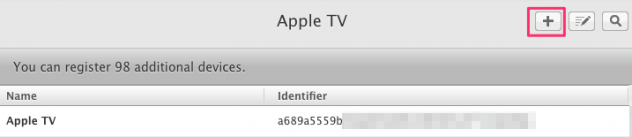
- From the devices menu on the left, click whichever device type you want to use (iPhone, Apple TV, etc.)
- Click the plus icon to add a new device.
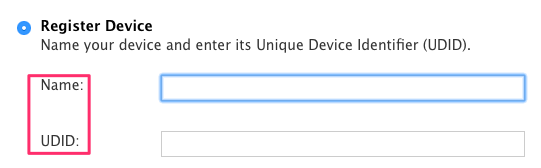
- Give your device a meaningful name.
- Provide the device UDID that you copied previously.
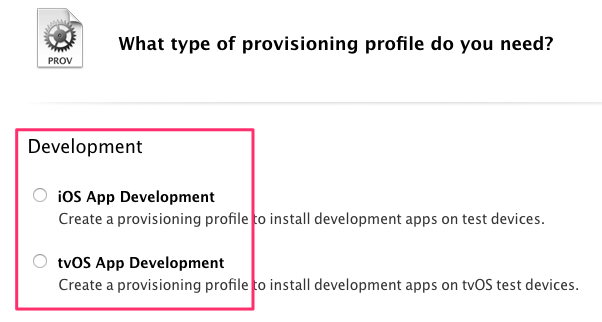
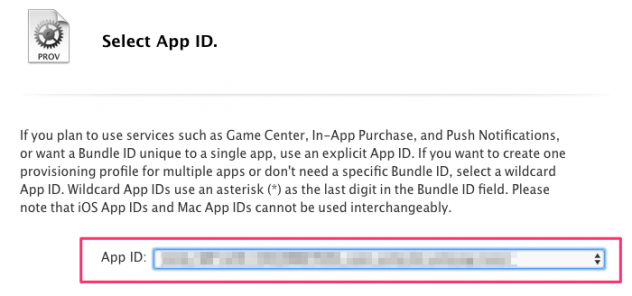
- From the provisioning profiles menu on the left, click development.
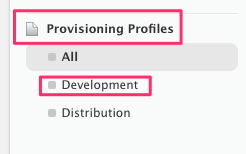
- Select the type of provisioning profile you want to use.
- Select the bundle ID that you just created.
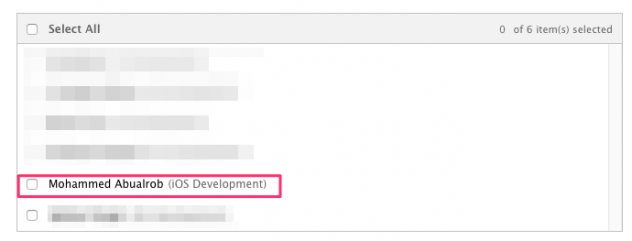
- Select the development certificate that you just created.
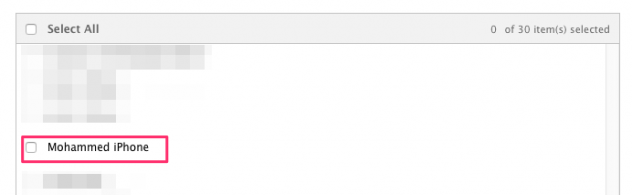
- Select the devices that you just registered.
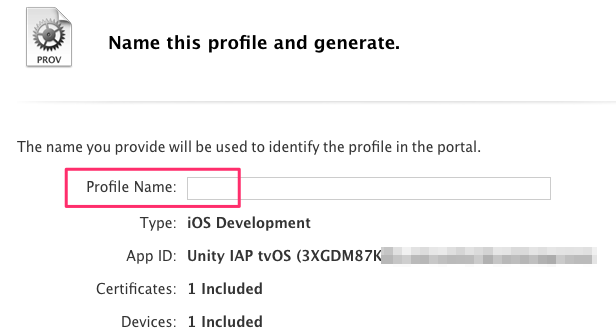
- Give your provisioning profile a meaningful name
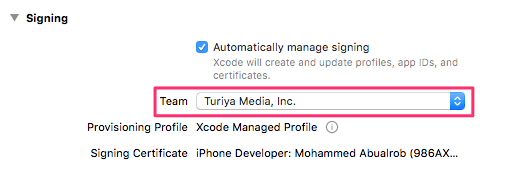
- Launch Xcode.
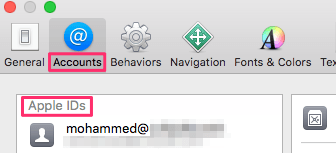
- Got Xcode menu, go to Preferences.
- Go to accounts.
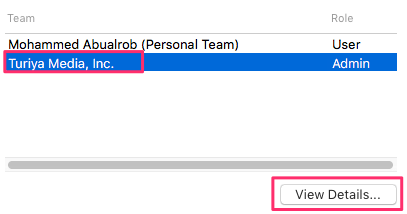
- Select your user name, select your team.
- Click view details.
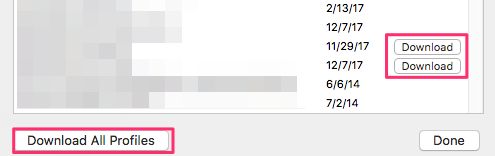
- Click download all profiles or you can download the ones you want to use.
iTunes Connect Apps
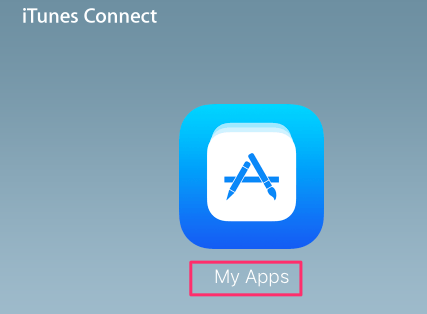
- Go to https://itunesconnect.apple.com
- Login if you are not.
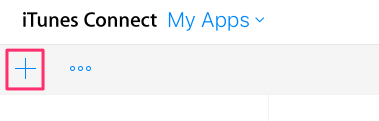
- Click on my apps.
- Click the add icon.
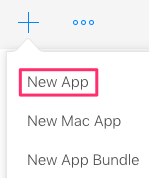
- Click new app.
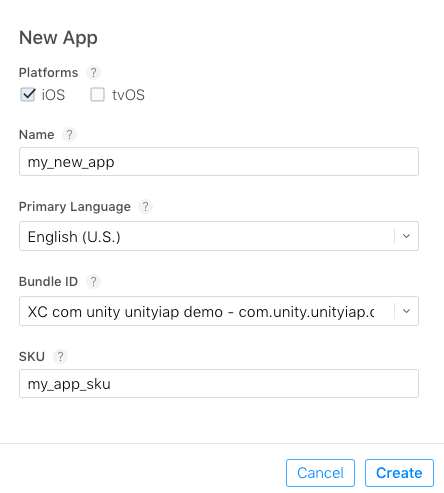
- Select your target platform (iOS or tvOS).
- Give your app a meaningful name.
- Select the language.
- Select the bundle ID that you just created.
- Give your app a meaningful SKU.
- Note that you can always click on the question mark icon if you have no clue what these fields are.
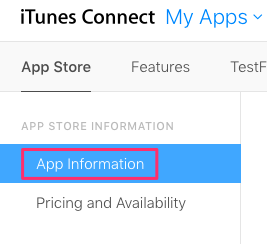
- After the app is created, select app information then select a category.

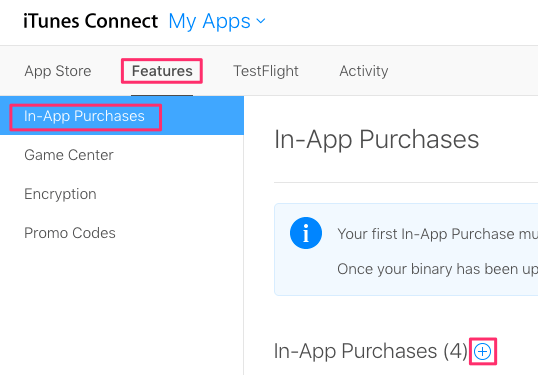
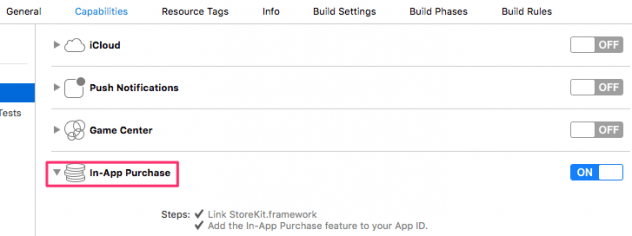
- Click on the features menu.
- Click on In-App Purchase on the left side.
- Add your IAP product catalog.
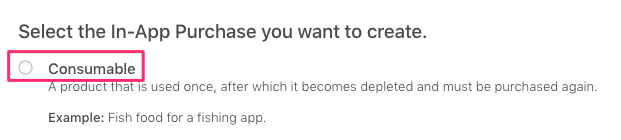
- Note that an IAP product can be consumable, non-consumable or a subscription.
- For more information about the difference between these product types, refer to Apple documentation.
- To add a new product ID click on the plus icon.
- Select product type.
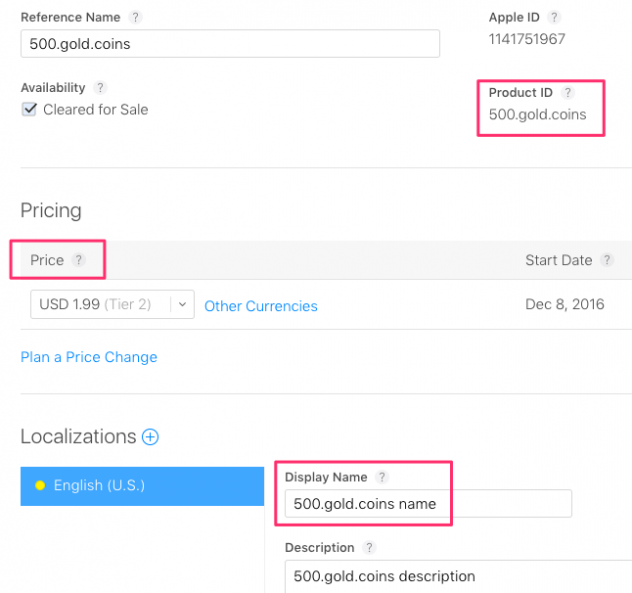
- Fill in all the required information about each product you want to add.
- The screenshot below was taken after the product was created not while creating it.
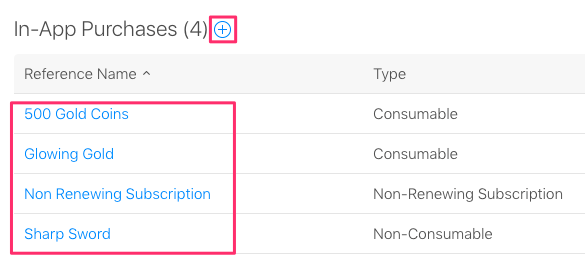
- Once you are done, you should get a list of products like this.
iTunes Connect Users
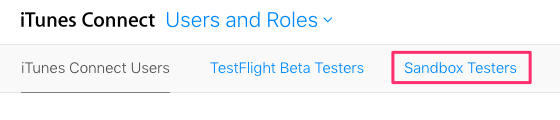
- From the main page, click on users and roles.
- Click on sandbox testers.
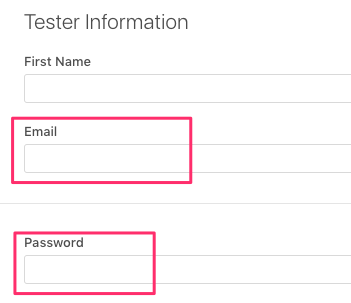
- Click the add icon.

- Fill in all the details .
Unity Project
We just finished all the required setup. The next step is to import, configure, build and deploy the Unity IAP demo app to a device. Everything for iOS should be similar to Android which was explained in the previous article. Instead of exporting an APK, we export an Xcode project. Open it in Xcode then build it to the device. You should have everything properly configured right after you export from Unity. If things do not work, pay attention to the following
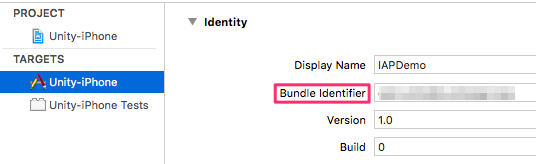
- Make sure the bundle ID that you entered in Unity player settings is correct and matches that on iTunes.
- Make sure your are selecting the right team.
- If you have not downloaded all profiles (Xcode, preferences, accounts, etc) as we explained earlier, please do so.
- For tvOS, though Unity has to take care of this, if the store kit library is not included, add it manually.
 Before we close, if you want to debug SSL on Apple TV you may check this article. If you have questions or comments, please use the comments section below. Thanks for visiting.


About Author
Mohammed Abualrob
Software Engineer @ Cisco