Unity Android IAP
1. Introduction
This guide tries to explain the following
- How to deploy Unity IAP demo app to a physical Android device
- How to publish the demo app to Google Play Developer Console
- How to validate IAP integration from both store front and Unity analytics sides
- You can use this guide as an Android In-App Purchase Testing guide
2. Prerequisites
In order to proceed successfully, you need to have the following prerequisites
- In addition to Unity editor installation, make sure that Android target support component is installed as well. You should have selected that during installation.
- Install Google Android SDK. You can get it from here:
http://developer.android.com/sdk/installing/index.html
- Install Android NDK. You can get it form here:
http://developer.android.com/ndk/index.html
If you download a bin file, you can make it executable by executing the command (chmod 755 file_name), type the file name then hit enter, that should extract the package. After that, you can move the NDK folder to wherever you wish
- You may also need to install JDK. You can get it from here:
http://www.oracle.com/technetwork/java/javase/downloads/index.html
- Create a (dashboard) analytics project if you do not have one. To do that, you need to login and/or register at:
https://analytics.cloud.unity3d.com
After you login and create your project, there is an integration section that explains how to integrate analytics into your Unity project
3. Create Unity Project
- Launch Unity Editor
- If you are not logged in to your Unity account, do so by entering your email and password
- Click NEW to create a new Unity project
- Give your project a name and select a location to store the project files
- Select 2D as the IAP demo app has a simple GUI. No 3D graphics needed
- Click Create Project
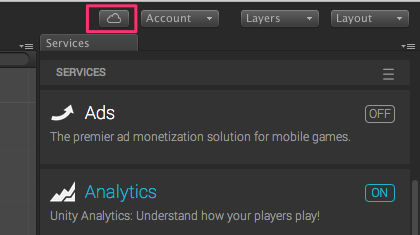
- Click on the services icon (cloud icon)
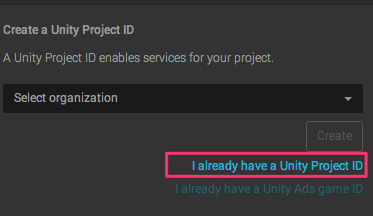
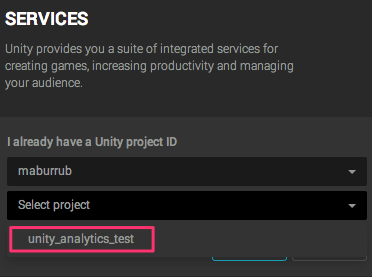
- Click “I already have a Unity Project ID”
- Click “Select organization”
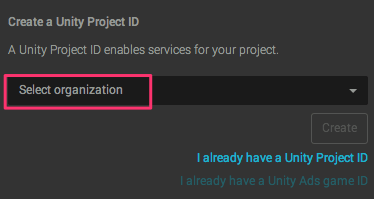
- Select your user name from the drop down list

- Click “Select project”
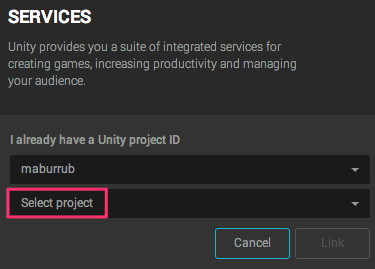
- Select your dashboard project from the drop down list
- Click on the Link button
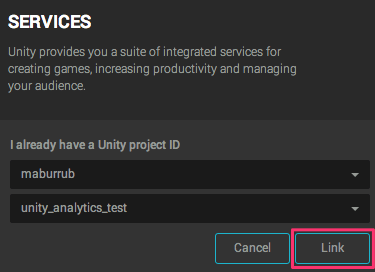
- When asked: are you sure you want to link to the project? Click Yes
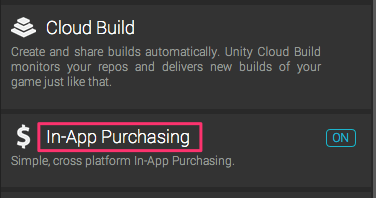
- Now you are going to have Analytics and In-App Purchasing enabled
- Click on In-App Purchasing
- Click Import
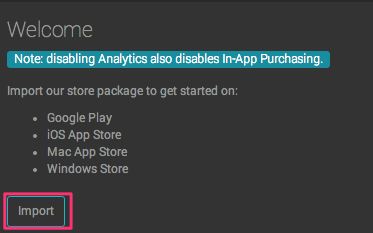
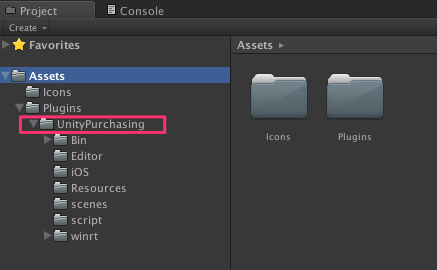
- You should get the Unity IAP package under Assets, Plugins, UnityPurchasing
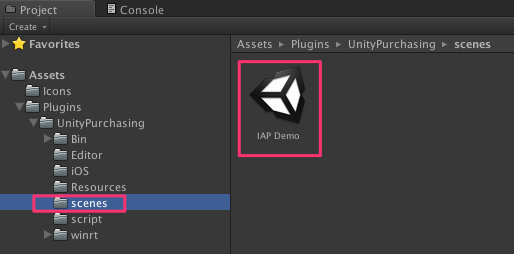
- Navigate to Scenes
- Double click the IAP Demo scene
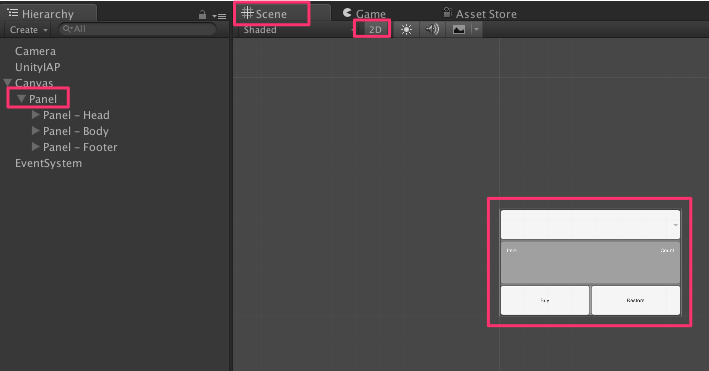
- Select the Scene tab
- Make sure 2D is selected
- Expand the Canvas and select the Panel. Now you are going to get an idea how the UI looks like
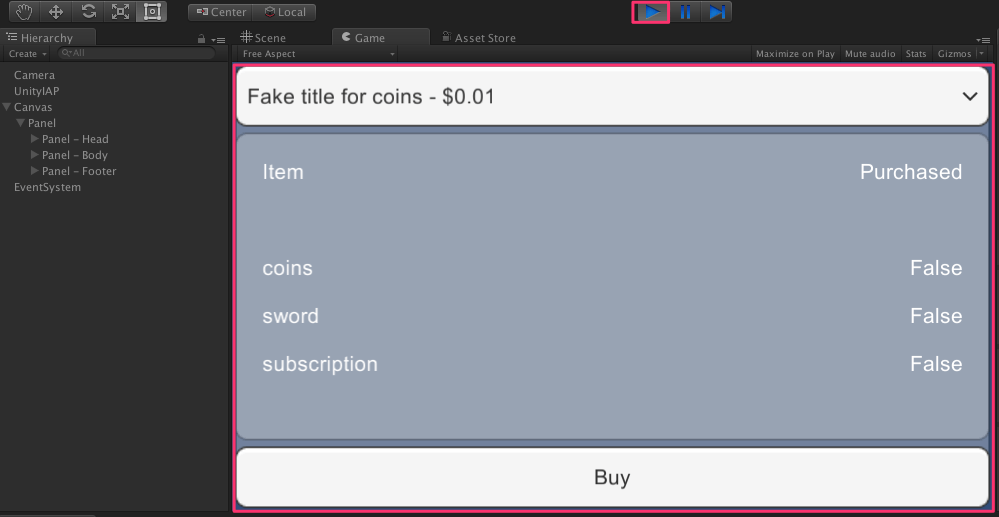
- Try to run the app by clicking on the play button
- You should see the demo app running in the Editor using a fake app store
4. Unity Preferences
- Go to Unity menu
- Go to Preferences
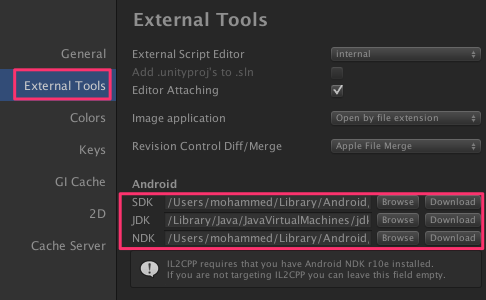
- Go to External Tools
- Make sure SDK, NDK, JDK all point to the correct paths for example:
SDK: /Users/user/Library/Android/sdk
NDK: /Users/user/Library/Android/ndk
JDK: /Library/Java/JavaVirtualMachines/jdk1.8.0_71.jdk/Contents/Home
- Close the dialog
5. Player Settings
- Go to Edit menu
- Go to Project Settings
- Go to Player
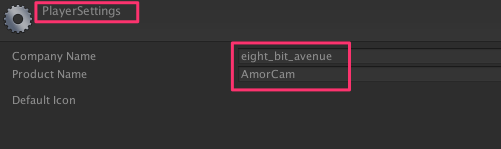
- In PlayerSettings, set a company name for example: eight_bit_avenue
- Set a product name for example: AmorCam
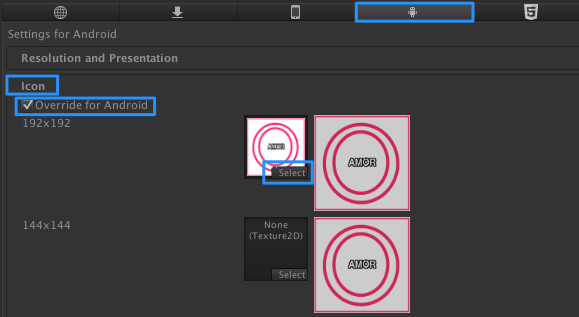
- Select the appropriate platform (There are icons for each target, click the Android logo)
- Click the Icon setting
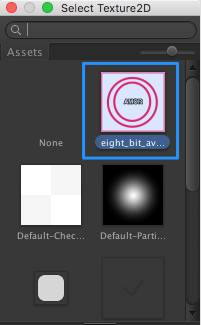
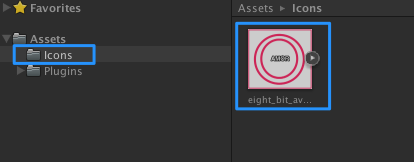
- Click Override for Android. There you can change the default (black color) Unity icon. If you do not change the icon, your app can be rejected by Google due to impersonation reasons. The way to change the icon is to click on the select button. The editor will let you select a new icon from the available textures. This means you need to prepare your new icon and copy it to the folder structure in your Unity project. The easiest way to do that is to right click on the Assets folder in your project explorer then reveal in explorer. There you can copy and paste your new icon
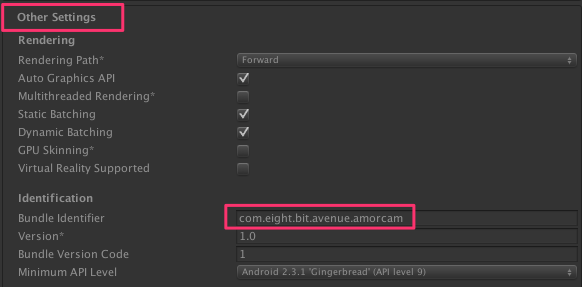
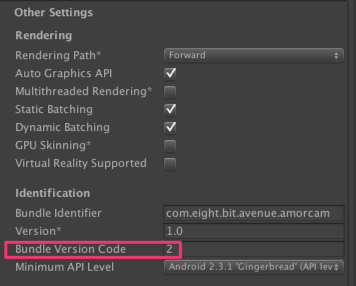
- Click on Other Settings
- Type in a bundle identifier for you Android app. For example: com.eight.bit.avenue.amorcam. Try to avoid using unity3d or android or anything weird that may cause app rejection by Google.
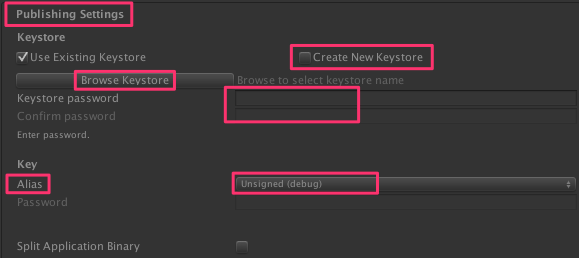
- Click on Publishing Settings
- If this is the first time, select “Create New Keystore”
- Enter a password (of your choice) twice
- Click Browse Keystore
- Give your keystore a name and chose a folder to save it then click save
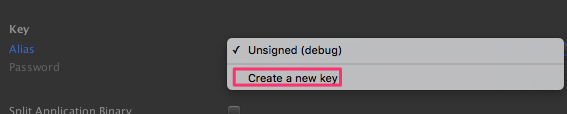
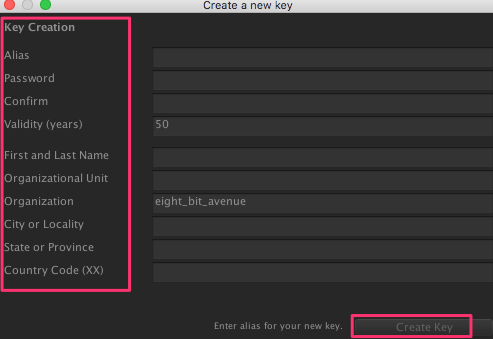
- From the Alias drop down list, click Create a new key
- Fill all the information in the create a new key form (All the fields are self explanatory) then click create key
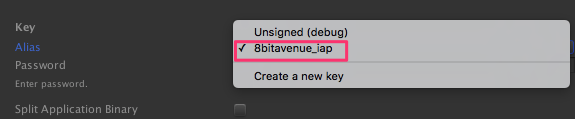
- From the Alias drop down select the key you just created.
- Now with Use Existing Keystore selected, the path should be pointing to the keystore file you just created. If not then browse and select the keystore file
- Make sure the password is entered in the appropriate fields
- Close the dialog
6. Exporting Android APK
- Go to the file menu
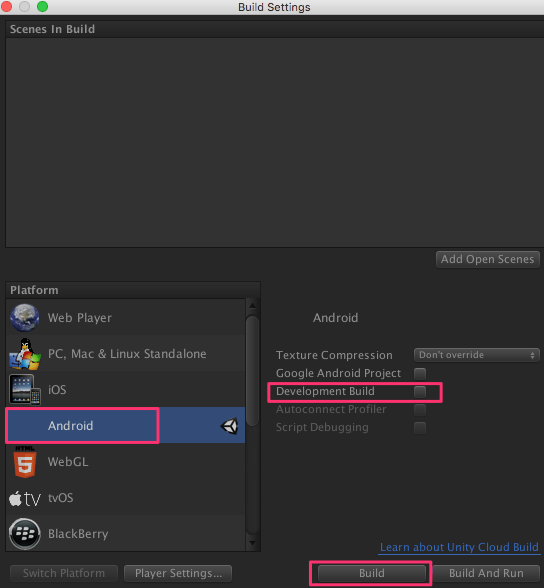
- Go to build settings
- Select Android form the list of platforms
- Make sure Development build option is NOT selected
- Click on Build
- Chose a name for your APK file and select a folder to save it
- Click Save
7. Publishing Your App
- Use a gmail account to login to Google Play Developer Console
https://play.google.com/apps/publish/
- You should setup a merchant account (Pay $25) so you need to have a payment method on file (ex. credit card). This is needed because you are selling digital goods.
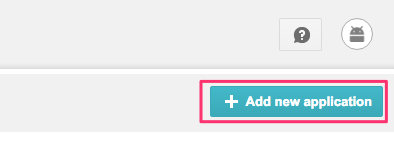
- Click Add New Application
- Give the app a Title
- Click to upload the APK file that you generated in the steps mentioned earlier
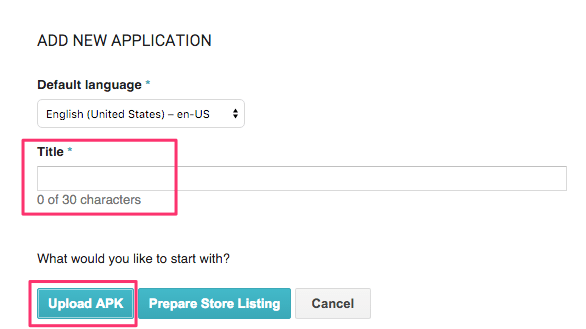
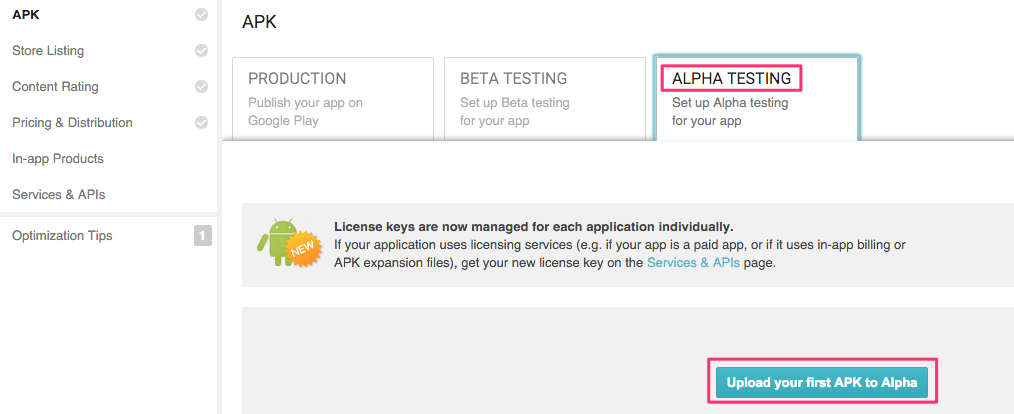
- Select Alpha or Beta. Do NOT select production because we are not going to be using real money to test in app purchases
- Click on Upload your first APK to Alpha
- Browse and select your APK file. Note that the bundle ID of the app should be unique. No two apps should have the same ID
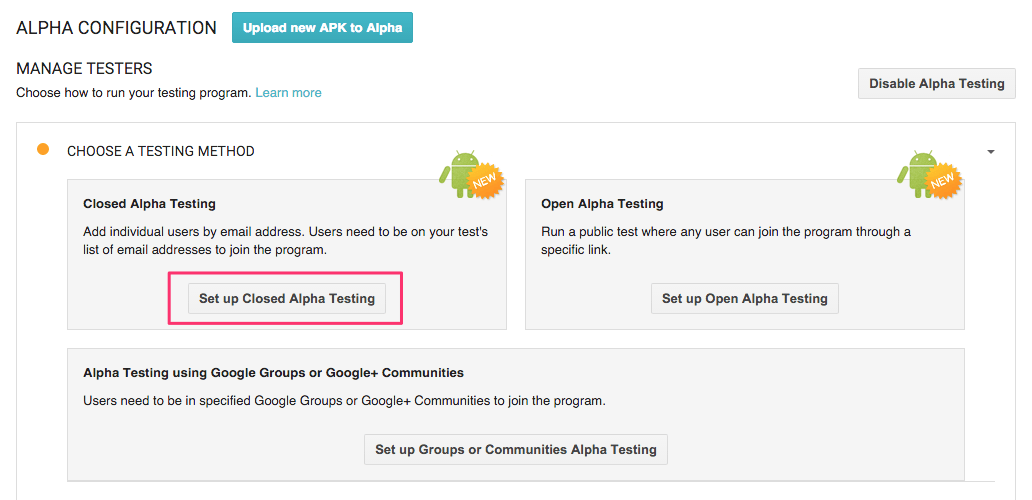
- In Alpha testing you may select closed or open. Either one should work depending on what you want to do. read the explanation there. It is self explanatory.
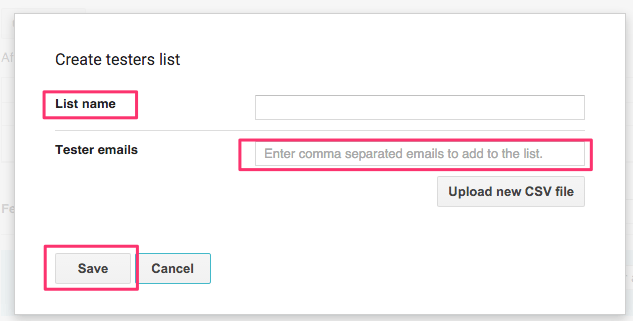
- Click on Create List to create a list of alpha testers then add the gmails of those test users. Give your list a name
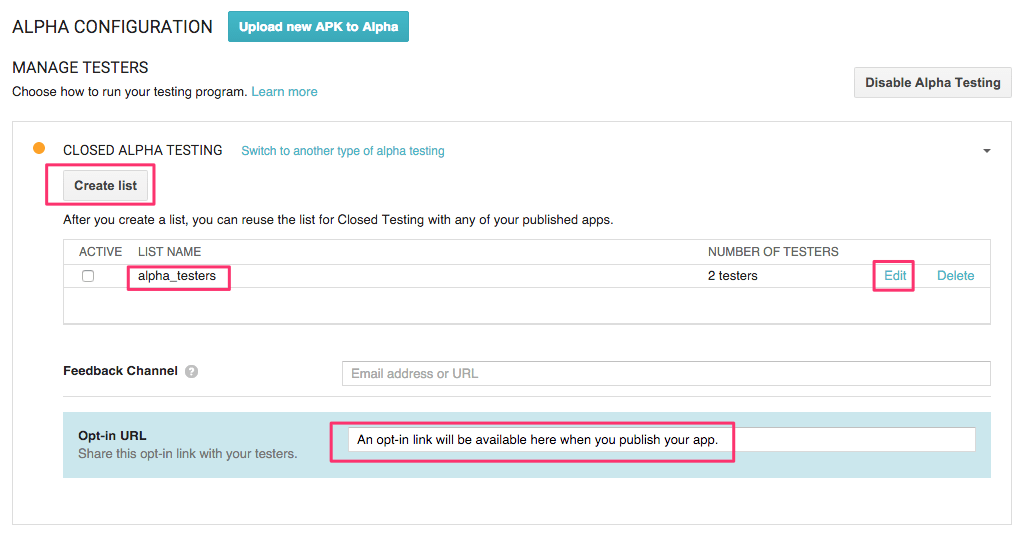
- If the app is accepted, then the Opt-in URL can be used to share a link with test users so that they can download the APK using a browser from their phones.
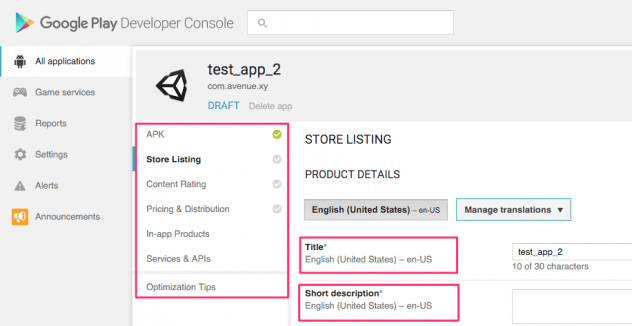
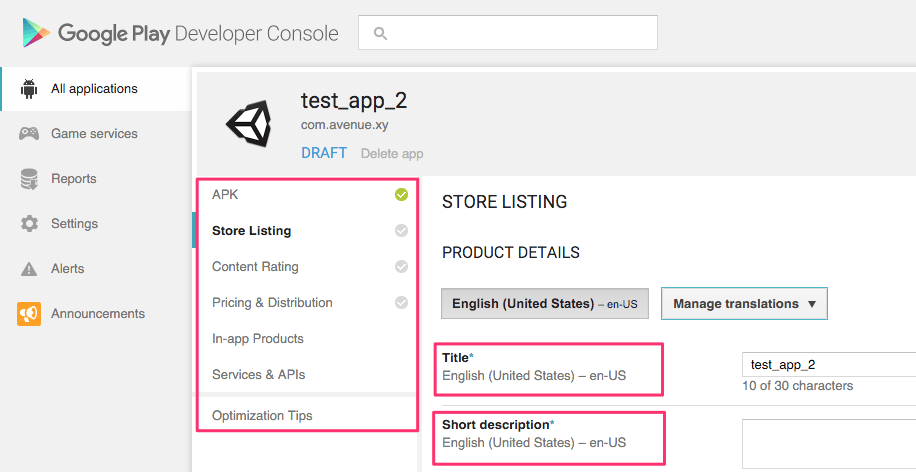
- On the left side of the page, you have all the sections that need to be filled. This includes Store listing, content rating, etc. Everything is self explanatory and explained in details. You need to finish filling all of that.
- Give your app a meaningful name and enough description otherwise it may get rejected
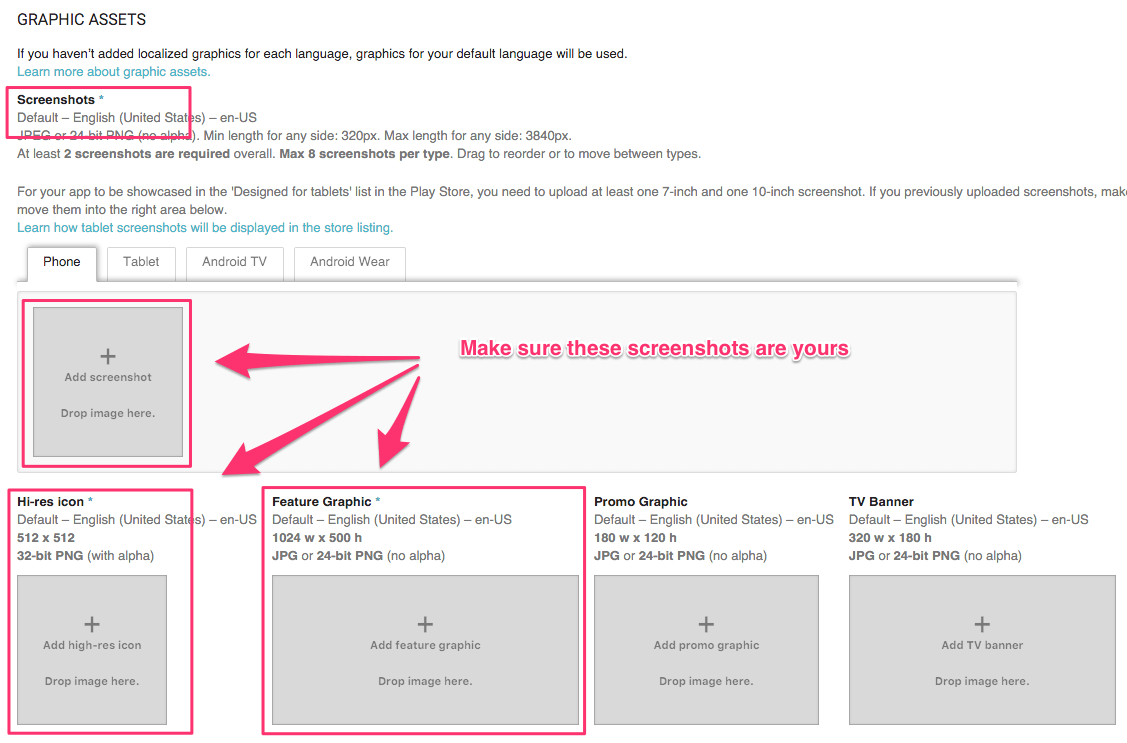
- When providing screenshots, provide legitimate screenshots that you own otherwise the app may get rejected
- On the left side of the screen (In-app Products), create the products that the app will be selling
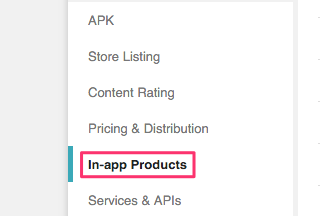
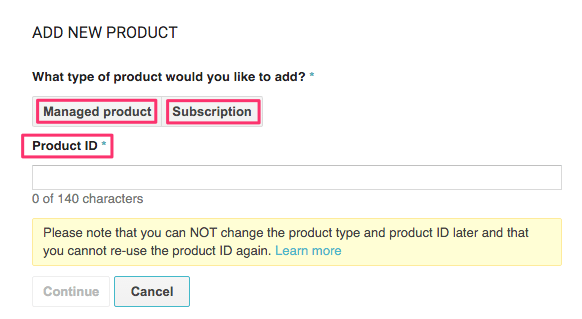
- Each product you create need to have an ID, Title and description. Again, try to enter meaningful information
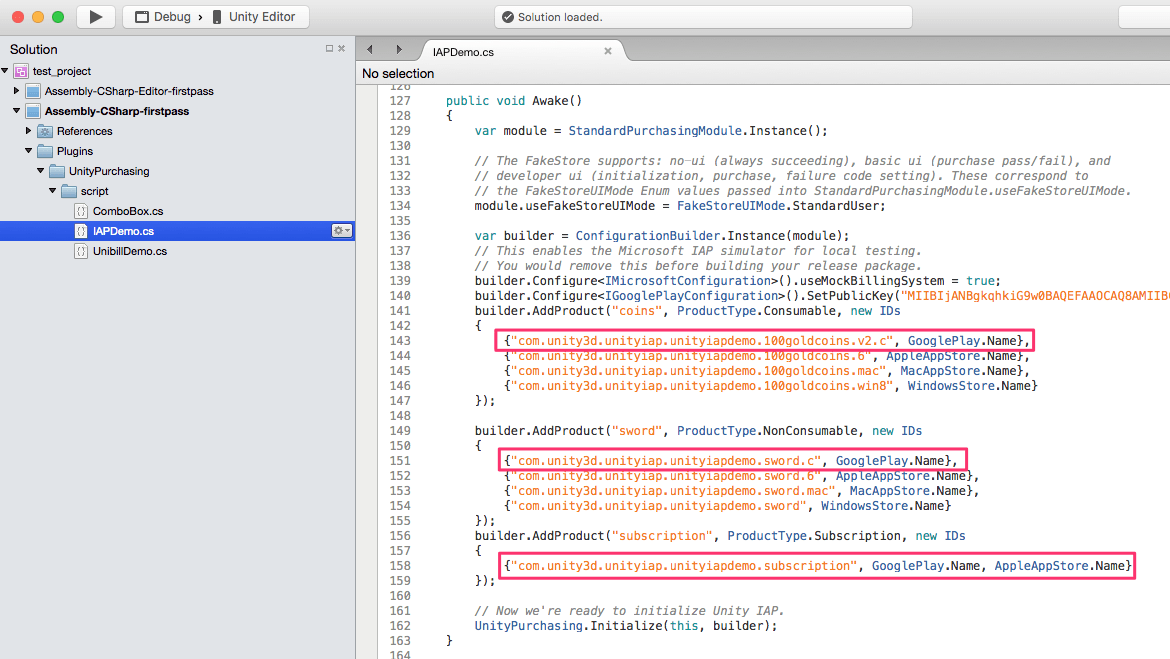
- The product IDs that need to be entered here must match those configured in the demo app. In order to know which product IDs to use. Go back to Unity editor, Go to Assets, Plugins and navigate to the scripts directory. Open the IAP demo C# script. The code there tells you exactly which products to use. At the time of writing this tutorial, there was a consumable product (coins), non-consumable product (sword) and a subscription product. These are the 3 products that you need to create here. For consumable and non consumable set the product type to Managed unless it is a subscription then use Subscription (of course)
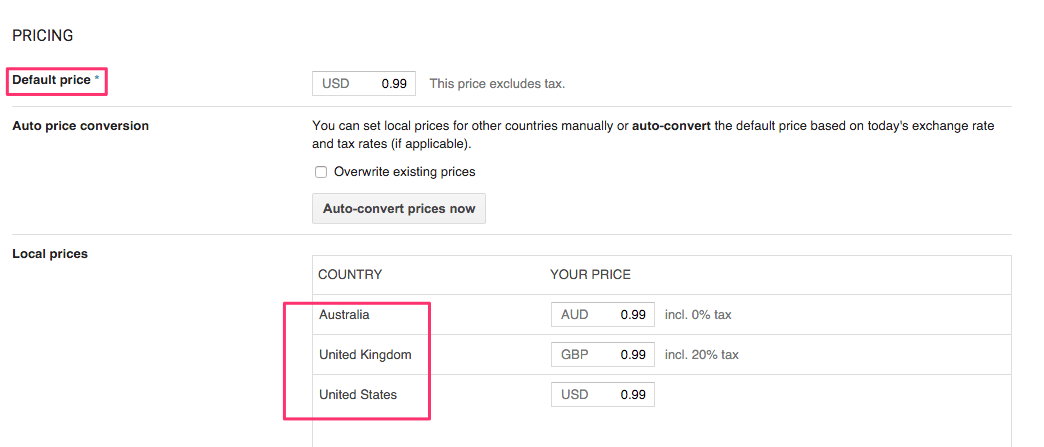
- You will be asked to provide price information and price per country if you wish
- Review every single field in your app submission. If you think everything looks ok and make sense then hit the publish app button. It may take up to 24 hours before the app is accepted. If rejected, usually takes few hours.
- If you want to upload a new version of the APK, make sure you change the bundle version code (edit, project settings, player, other settings)
8. In-App Purchase Testing
In order to make sure the IAP demo app works on as expected, we are going to install the APK file a real Android device , launch the app and try to purchase the digital products we defined in the previous sections. Since we uploaded the app to Alpha (or Beta) as opposed to production, money transactions are not going to be real. Follow the steps below
- Using an Android device, launch a browser to the following URL
https://play.google.com/apps/testing/com.eight.bit.avenue.amorcam
where com.eight.bit.avenue.amorcam is the bundle ID of your Android app
- Sign in with a gmail account using any alpha test user that you created in the closed alpha testing.
- Click on “Download the AmorCam app Google Play” where AmorCam is the app name
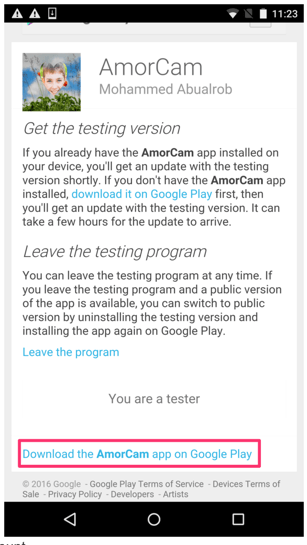
- If you are asked to add an account then sign in with the same alpha test user account
- Click on Open to launch the app
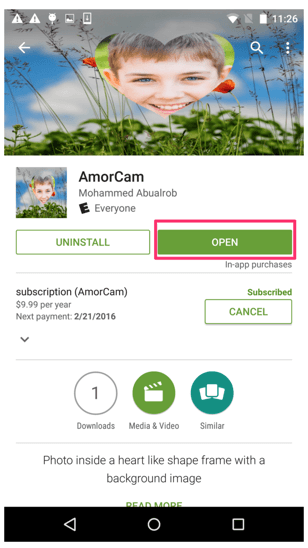
- Click the app Buy button
- Click the Google Play BUY button
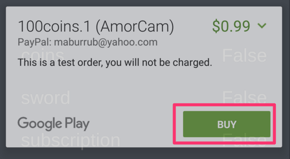
- At some point you will be asked to enter a payment method either a credit card or login to your PayPal account
- Enter the email and password of the test account then click CONFIRM
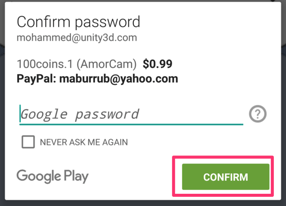
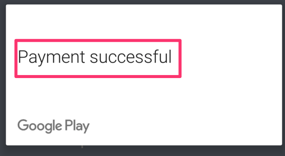
- You should get a message saying Payment successful
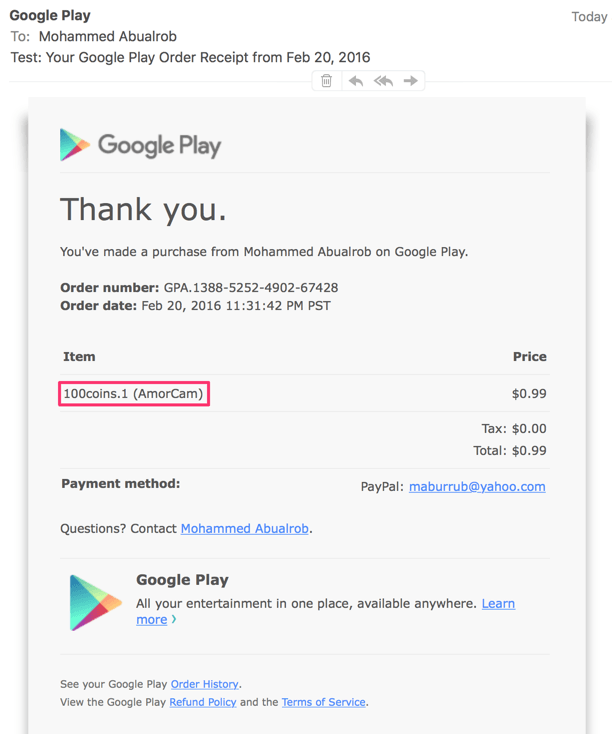
- You should get an email confirming the purchase
- So far it looks like the app is working as expected, now we need to make sure transaction events are recorded on the analytics backend. Let us start with the easy way.
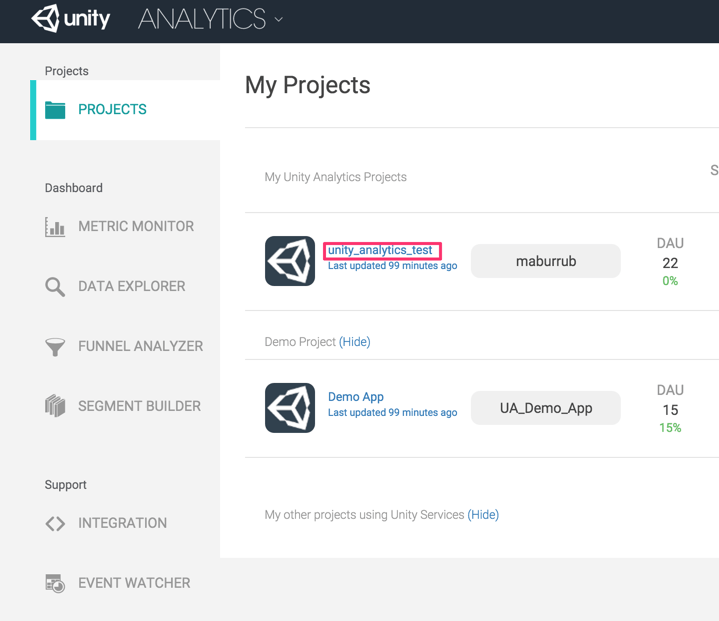
- Login to Analytics dashboard
- Select your project

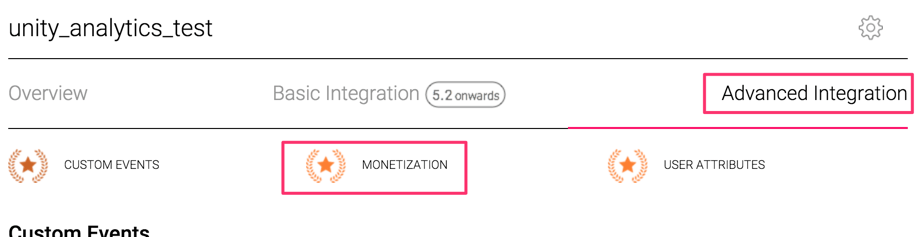
- Click Integration
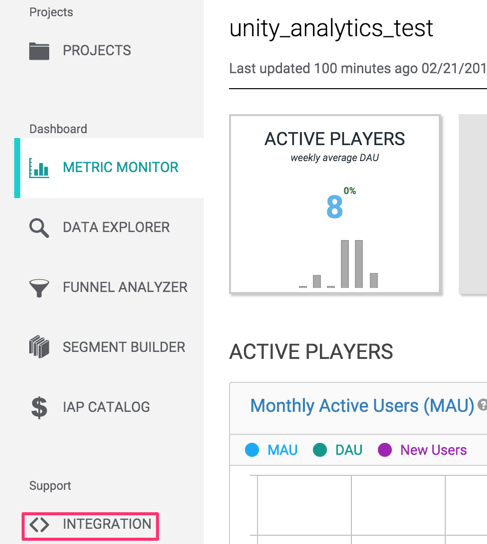
- Click on Advanced Integration
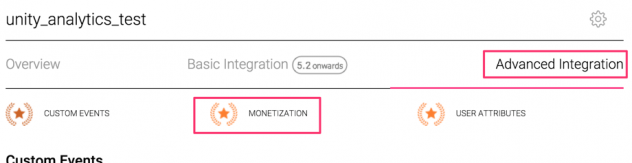
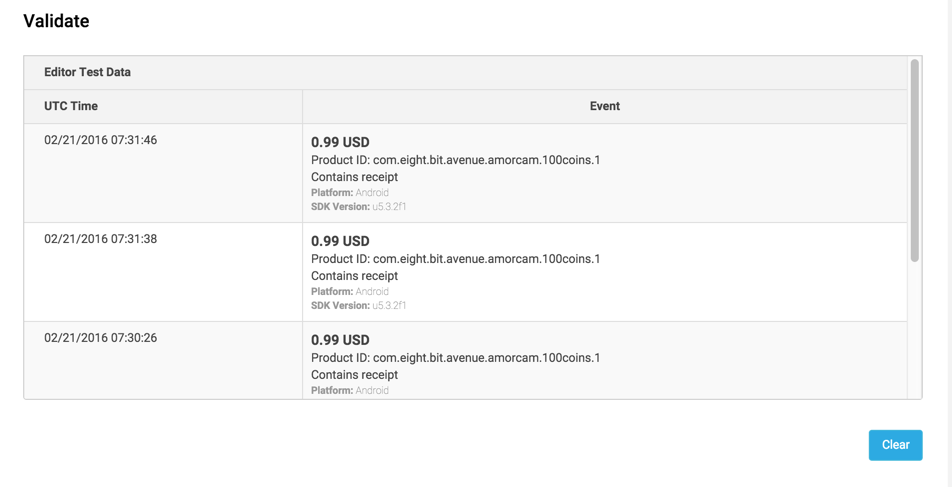
- Scroll to the bottom of the page to the validation section. This is where you should see all transaction events recorded. Please note that this validation page works only with development builds

- When we built the APK it was a release build because Google Play requires that. This means we will not be able to see the events.
- In order to do so, you can uninstall the app you just downloaded from Google Play and rebuild (explained earlier) a development APK.
- You can uninstall an android app from settings then apps then select app then uninstall or from the command line using adb uninstall
- Recall when we built the APK there was a check box to generate development APKs. Make sure it is checked now.
- Once the APK is generated, you can deploy it to the Android device using the following command adb install file_name.apk
9. SSL Proxying
- In addition to the integration validation tool on dashboard, we can pass the network traffic going out of the phone through a web proxy and monitor which message are sent out
- If these messages are SSL encrypted then you can not see their content so you need to enable SSL proxying.
- For more information please refer to the following link
https://www.8bitavenue.com/2015/05/debugging-ios-and-android-ssl-connections-using-charles-proxy/
Please use the comments section below for questions, corrections or feedback. Thanks for reading.


About Author
Mohammed Abualrob
Software Engineer @ Cisco